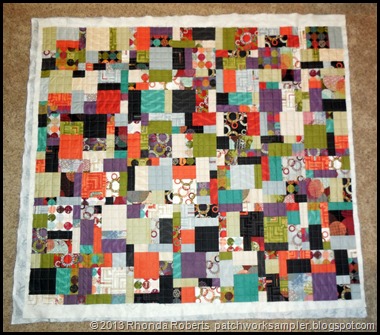
Last night I pulled the Juggling Summer Wacky Nine Patch off the frame and I’m pretty happy with the way it turned out. It is such a simple pattern and will be great for donation quilts. I’m sure this isn’t original (it’s too easy!) but it’s a fun way to use a layer cake.
All you need is one layer cake for a quilt that ends up about 52” x 60”. To finish your quilt you’ll need 3-1/3 yards of backing and 1/2 yard of binding. You could add borders if you want to make it bigger. If you add borders, you’ll need more fabric for backing and binding.
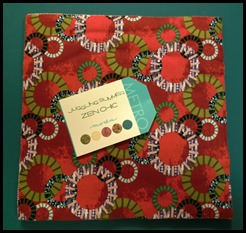
For my quilt I used a Moda Juggling Summer Layer Cake by Zen Chic.
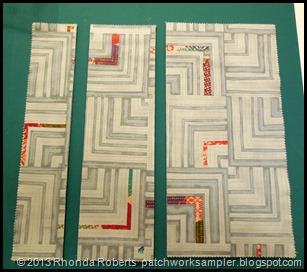
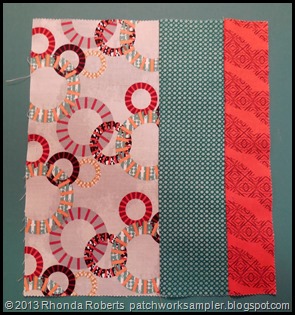
Make two cuts through each fabric square so you end up with three strips. I cut my strips 2”, 3” and 5”.
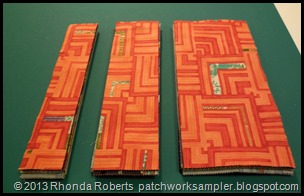
Cut all 42 squares the same way. I layered my up and cut six at a time. Keep each size of strip together in a stack.
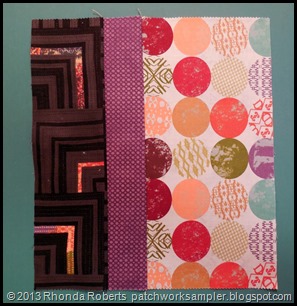
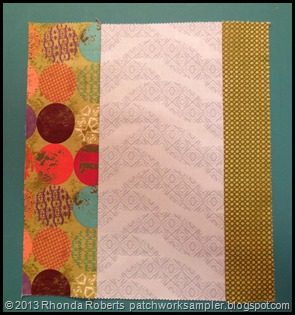
Now you’re ready to sew. Select one strip from each stack and sew them together. Mix up your fabrics so you have three different ones in each block.
It doesn’t matter which order you sew the strips. Mix it up and make different strip sets.
The order doesn’t matter as long as you have one of each size in every strip set. When all your blocks are sewn, go to the ironing board and press the seams in any direction. You won’t be matching seams so you don’t have to press in any certain direction.
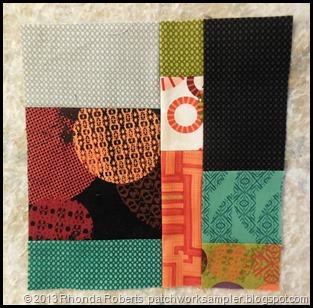
When you’re finished pressing, take the blocks back to the cutting table and again make two cuts in each block so you end up with three strips again. Make sure you cut perpendicular to the seams.
Again, cut all 42 blocks like this and keep the strips together. When you have them all cut, take them back to your machine and sew the strips back together like you did before. Voila! A wacky nine patch!
Sew these strips together in different order too. Just make sure you have one of each size strip in every block. When your blocks are sewn, press the seams. Again, it doesn’t matter which direction your press.
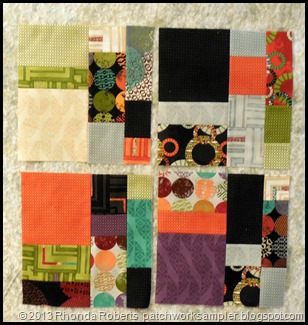
You will end up with a variety of different blocks. Here are a few of my variations—yours won’t necessarily look like mine.
Now lay out your blocks in seven rows of six blocks each. You can rotate the blocks in any direction you choose. Sew the blocks together into rows, the sew the rows together. Now just press the seams and your top is finished.
I quilted mine in straight rows random widths apart. When you’ve finished quilting, bind and enjoy your new quilt!
Now I’m off to sew binding!! Hope you have fun with this project.



thanks so much for the tute
I found one I’d been assembling years ago.
Friends I was quilting with asked how it was made and I couldn’t for the life of me remember.
Quilts by Golly
Keene, NH
This is so cool! Love how you picked those fabrics and colors. I am going to make one like this since you shared the steps how to do it. Very pretty. Thanks.
I love this had not seen it before but will try it thanks
I love this quilt and what a simple way to make an interesting pattern from layer cakes. Do you mind if I use that pattern idea for my Circle of Friends group in Sept.? Drop me an email if it is OK with you……..thanks for sharing. It is such a great way to create a very colorful quilt with easy instructions……..Mpea