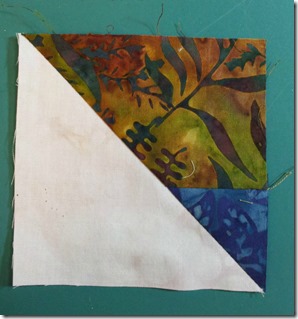
I started piecing the blocks for the Pineapple Blossom quilt. It seemed like this was going to be a really fast block to make but it’s taking longer than I thought. One thing that’s slowing it down a bit is that the block creates bonus triangles and I’m sewing the seam for the triangles as I go. I like to do that so the bias edge is stitched right away–and of course they will be ready for a new project.
Here’s how I piece connector (or folded) corners. Most instructions have you draw a diagonal line on the back of the square. I don’t like to draw lines so I placed tape on my sewing table and that eliminates the need for the line. There is a commercial product available called The Angler that does the same thing but you have to attach it to your table each time you use it. The masking tape is cheaper and it’s there when you need it.
This photo shows the masking tape on the table and machine bed in front of the presser foot. I have lines drawn so I can stitch either directly on the diagonal line or offset a 1/4” for seam allowance. For this block I need to sew on the diagonal. This is the dark line down the center. It is aligned straight with the needle.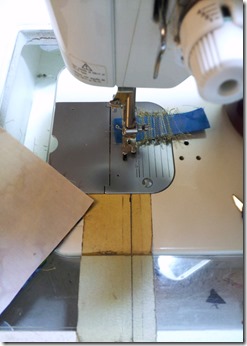
Start stitching in the corner with the opposite corner ON the line. Sew from corner to corner, keeping the corner on the line for the entire seam.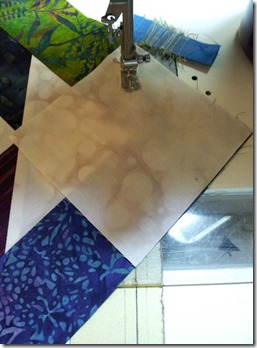
You can see in this picture that the seam is straight and accurate. See the square underneath? The seam should be a thread or two to the right of that square. This one looks good!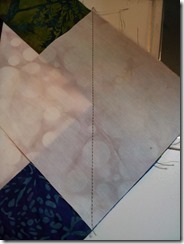
Trim the seam—see how I do it in the next series—and press it back. Voila! Perfect corners and no lines drawn! I’ll reveal the finished blocks when I get a few more finished.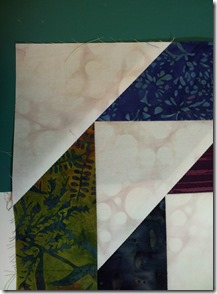
When I trim the corner I use an Easy Angle and measure from the outer corners instead of trimming my seam 1/4”. That way all my triangles end up the same size and I don’t have to trim them up later. I sew the seam right after I cut it so it doesn’t shift and it’s finished!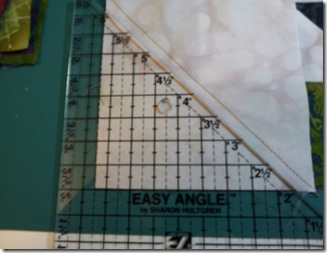
After sewing a 1/4” seam, press toward the darker fabric, trim the dog ears and the bonus triangles are ready to use in a new project. I already have one in mind to use these!